Getting started
This is the first place you should start if you have not used the Lawless Cloud before.
- General Description of the User Interface
- Changing Personal Contact Data
- App Launcher
- Changing the Password
- The menu bar
- Customizing the Basic Settings
- The search bar
- The folder view
- The toolbar
- The display area
- The pop-up
- The editing window
- The notification area
- Working with Notifications
- Manually Installing Local Apps
- Using a Wizard to Set Up Local Apps
- Setting up and Configuring the Zoom Integration
- Setting the Presence Status
General Description of the User Interface
Overview:
Learn which basic elements are part of the user interface and where they are located.
Detailed descriptions of the app specific user interface elements can be found in the app specific topics. Links to the app specific topics can be found at the end of each following topic.
The user interface includes the following elements:
Changing Personal Contact Data
The following options exist:
-
change personal contact data
-
create a contact picture by uploading an existing picture or by taking a new photo with the device camera
How to change your personal contact data:
-
Click the icon on the right side of the menu bar. Click on .
You can also click on in the basic settings or in the address book settings.
-
Change the data. Click on .
Tip: You can also change your personal contact data by using the User data widget in the Portal app.
How to create a contact picture:
-
Click the icon on the right side of the menu bar. Click on .
You can also click on in the basic settings or in the address book settings.
-
Click on the empty contact picture. The Edit image window opens.
-
You can upload an existing image or take a new picture with the device camera.
-
You can adjust the image section with the zoom and by moving or rotating the photo.
-
-
Click on . The photo will be inserted.
In order to edit the photo, click on it.
App Launcher
Note: The following is a schematic representation.
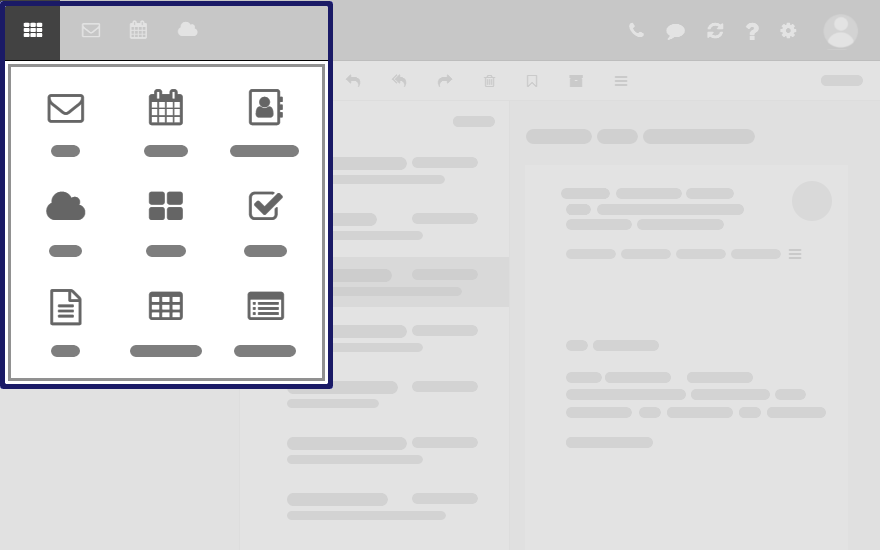
In order to show the app launcher, click the icon .
Content
-
Contains squares for launching the apps. Depending on the configuration, the number of squares can vary.
Changing the Password
Note: Depending on the configuration, the steps for changing the password might differ from this instruction. In this case, contact your administrator or host.
How to change your password:
-
Click the icon in the menu bar. Click on in the App Launcher.
-
If the User data widget is not displayed, click on on the upper right side. Click on .
Click on in the User data widget.
-
Change your password.
The menu bar
Note: The following is a schematic representation.

Content
-
icon . Opens a menu with icons for launching an app.
-
Depending on the configuration: Quick launch icons for launching frequently used apps.
The context menu allows to define the apps that should be displayed as quick launch icons.
-
icon . The icon is displayed when receiving a new notification. The icon notifies you of the number of new notifications e.g., new appointment invitations. If clicking the icon, the notification area opens.
-
Depending on the configuration: icon . Opens the call history that shows all calls or missed calls. If clicking on an entry, the window for calling this contact will be opened.
-
icon . Reloads objects from the server. Irrespective of this function, objects are refreshed in regular intervals.
-
icon . Opens a menu with further functions:
-
. Opens a context related help page.
Tip: Some windows also include the help icon. If clicking on it, the respective help for the window context is displayed.
-
Giving feedback about the groupware
-
Depending on the configuration, there are several guided tours that help you get started with the groupware.
-
. Shows information about the groupware.
-
-
icon . Opens a menu with further functions:
-
Customize settings.
-
Depending on the configuration: . Launches a wizard for setting up local apps with which you can access your groupware data.
-
-
icon. Opens a menu with further functions:
-
. Opens a window where you can adjust your personal contact data in the global address book.
-
. Signs you out from the groupware.
-
Depending on the configuration, further menu entries might be available.
Customizing the Basic Settings
In the basic settings, you can set the language, the regional settings and other personal settings.
How to customize the basic settings:
-
Click the icon on the right side of the menu bar. Click on .
-
Click on in the sidebar.
The following settings are available as default:
Language
Defines the user interface language.
More regional settings
Opens a window for customizing regional settings. The preset regional settings depend on the selected language.
Timezone
Defines the time zone to which all time-bound entries refer.
Also see Displaying multiple time zones
Design
Defines the color scheme for the user interface.
Refresh interval
Defines the interval for retrieving new objects from the server.
Default application after sign in
Defines the application that is displayed after login.
Automatic sign out
Specifies whether you are automatically signed out if you have not worked with the groupware for a specific time.
Open notification area automatically
Specifies whether the notification area automatically opens when receiving a new notification or email.
Show desktop notifications
Defines whether you will receive a desktop notification for new emails. Depending on the browser settings, the button is displayed. If clicking on the button, a browser specific dialog for allowing notifications opens.
Configure quick launchers
Opens a window that enables you to define the apps that should be displayed as quick launch icons in the menu bar. Depending on the configuration, you can set a different number of quick launch icons. You can also open the window from a quick launch icon's context menu.
My contact data
In order to change your personal contact data in the global address book, click on this button.
Change password
In order to change your password, click on this button.
Manage deputies
To define deputies for your email conversation or your appointment scheduling, click on this button.
The search bar
Note: The search bar contents are different for each app. The following is a schematic representation.
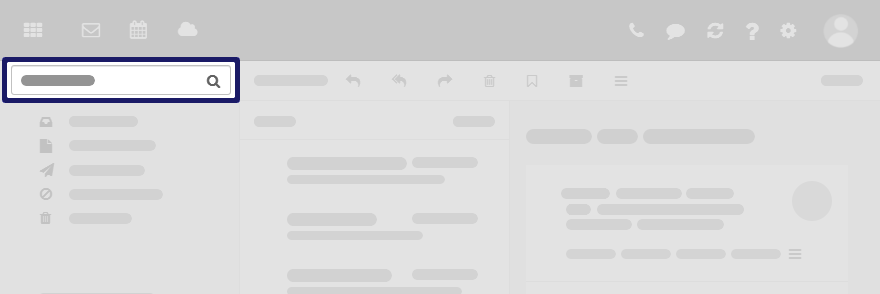
In order to display the search bar, click on in the toolbar. Enable .
Content
-
Input field for the search term
As soon as clicking into the input field, additional functions are displayed in the search bar.
-
icon . Finishes the search.
-
Functions for selecting the folder to be searched
-
icon . Opens a menu with app specific parameters for controlling the search.
Depending on the app, additional drop-downs for controlling the search are available.
-
icon . Displays a context-sensitive help.
The search result is displayed in the display area.
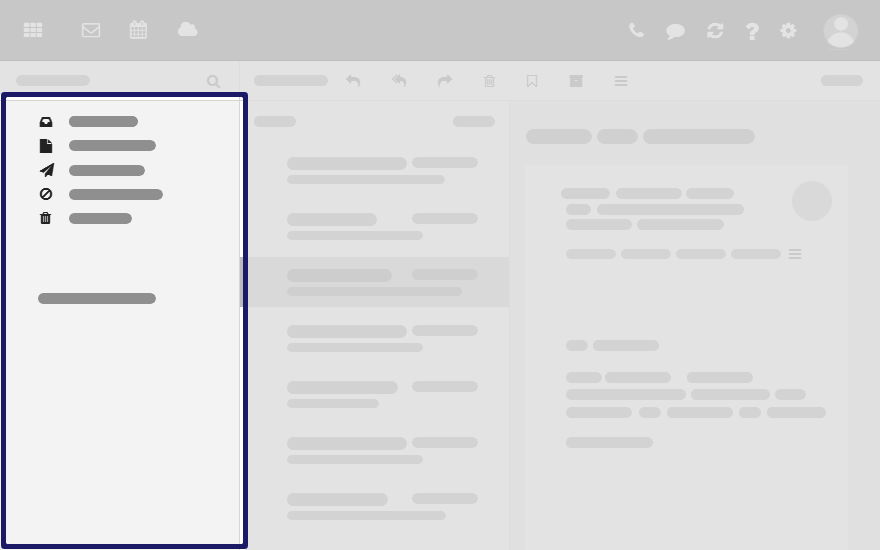
The folder view
Note: The folder view contents are different for each app. The following is a schematic representation.
To open or close the folder view, use one of the following methods:
-
Click on in the toolbar. Enable or disable .
-
Click the or icon .
To adjust the folder view width, hover over the line between the folder view and the display area.
Content
-
The app specific folders
Folders are called differently in the following apps:
-
A folder is called address book in the Address Book app.
-
A folder is called calendar in the Calendar app.
-
-
Depending on the application or the configuration, sections for personal, public and shared folders
-
The icon next to the selected folder. It contains functions for organizing folders. You can also use the .
-
Depending on the app, further functions might be available.
The toolbar
Note: The toolbar contents are different for each app. The following is a schematic representation.
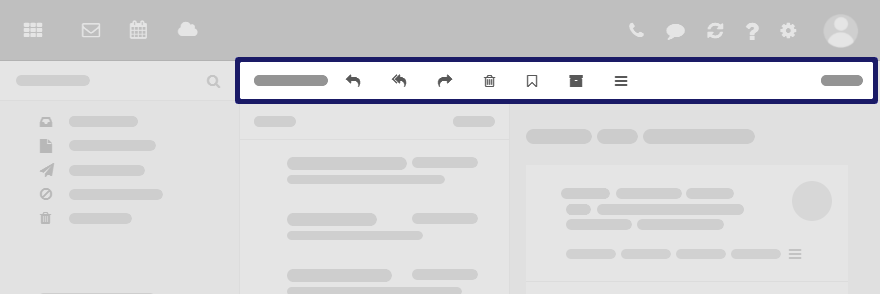
Content
-
Buttons for creating new objects, e.g. a new email or a new contact.
-
Buttons or icons for editing objects.
-
Depending on the app, further app specific buttons or icons might be available.
-
icon . Contains app specific functions for organizing objects.
-
button. Contains functions for controlling the layout in the display area and for opening or closing the folder view.
The display area
Note: The display area contents are different for each app. The following is a schematic representation.
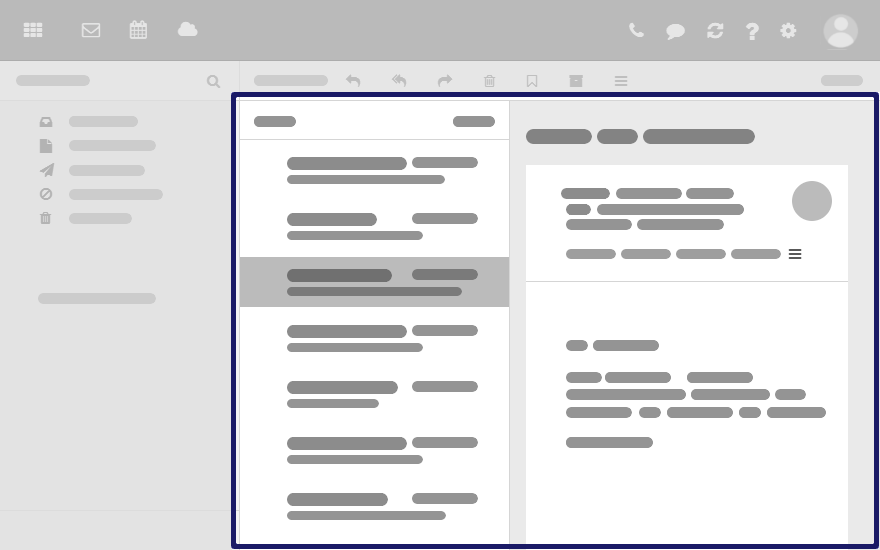
Content
-
A list of app specific objects: emails, contacts, appointments, tasks, files
To adjust the list width, hover over the line between the list and the detail view.
-
On top of the list, control elements for selecting or sorting objects are displayed.
-
The details of the object selected in the list, are displayed in a detail view.
If double-clicking on an object in the list, the content will be displayed in a window.
-
To select multiple objects, enable the option in the drop-down in the toolbar.
You can also use your system's multi selection functions.
You can change the view in the display area by clicking on in the toolbar.
The pop-up
Note: The pop-up contents are different for each app. The following is a schematic representation
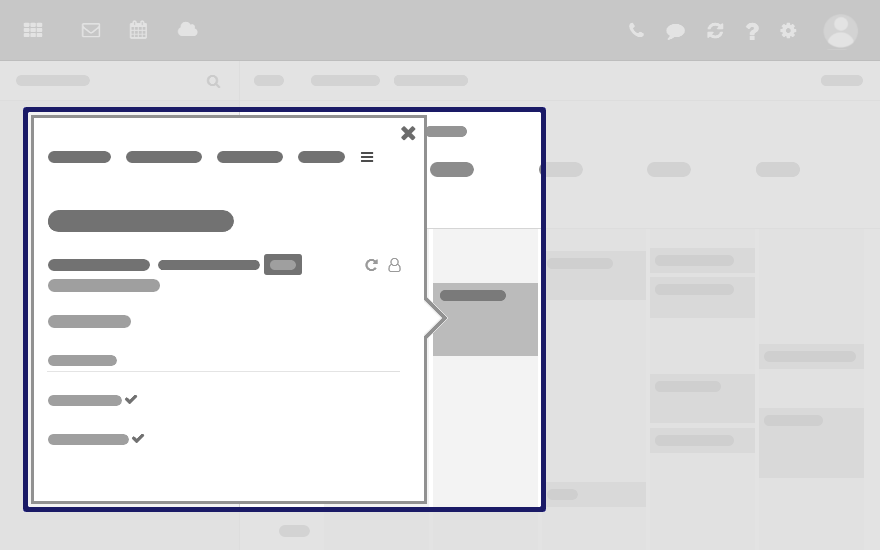
Shows an object's details. The following actions open the pop-up:
-
clicking on an email, an appointment or a task in the app Portal
-
clicking on a sender or recipient in an email's detail view
-
clicking on an appointment's or a task's participant
-
clicking on an appointment in a calendar view
Content
The editing window
Note: The editing window contents are different for each app. The following is a schematic representation.
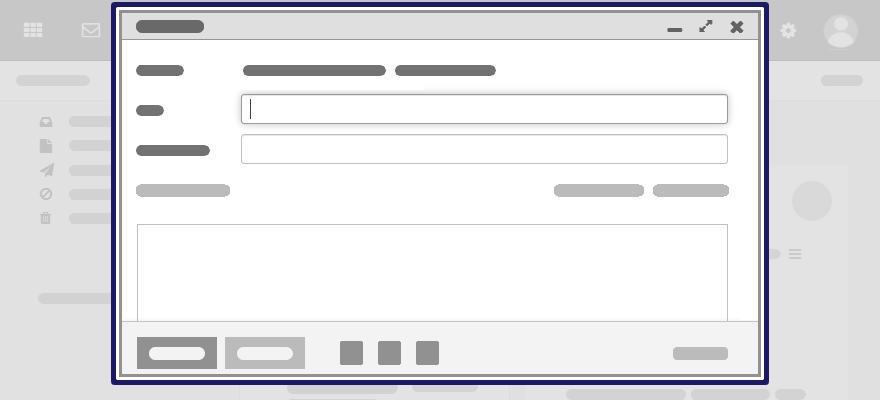
The following actions open the editing window:
-
creating or editing objects
-
editing the personal contact data
-
creating or editing simple text files
Content
-
The title bar includes the following elements:
-
window title
-
icons for setting the window position:
-
icon . Displays the editing window as icon at the bottom.
-
icon . Displays the editing window in its maximum size. If clicking the icon again, the original size is restored. You can also double-click on the title bar again to toggle the window sizes.
-
-
-
Depending on the app or function, various buttons, icons or input fields are available.
Properties
-
You can move an editing window.
-
You can activate further functions while an editing window is open.
-
You can open multiple editing windows.
-
Minimized editing windows are displayed as icons at the bottom. In order to restore an editing window, click the icon.
The notification area
Note: The following is a schematic representation.
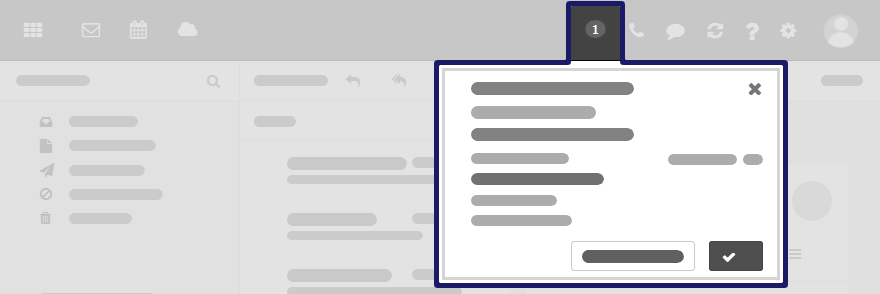
Displays notifications about the following events:
-
new appointment invitations
-
reminder for a scheduled appointment or task
The following actions open the notification area:
-
Clicking on the icon in the menu bar. The icon is displayed when receiving a new notification.
-
Depending on the settings, the notification area automatically opens if there is a new notification.
Content
-
Notifications about new invitations and upcoming events
-
Control elements for editing notifications: accept, decline, remind again, delete
Working with Notifications
You can configure the groupware to receive notifications about specific events.
You will be notified in the notification area for the following events:
-
new appointment invitations
-
appointment reminders
-
due tasks
-
tasks with a due date in the past
If you have enabled desktop notifications and the groupware is in the background, you will be informed about the following events:
-
incoming emails
Using the notification area:
-
As soon as a notification is being received, icon shows the number of new notifications. To open the notification area, click the icon.
If the notification area is to be opened automatically upon receipt of new notifications, proceed as follows:
-
Click the icon on the right side of the menu bar. Click on .
-
Click on in the sidebar.
Enable in the display area.
-
-
Show or hide notifications:
-
To close the notification area, click the icon . The notifications will be hidden.
-
In order to show the notifications again, click the icon in the menu bar.
-
To show a notification's details, click on the notification title.
-
To receive the notification again later, click on . The notification area will be closed.
-
-
Edit notifications:
-
To display appointment invitation suggestions in the calendar, click on .
-
To accept or decline an invitation, click on the respective button.
-
To receive a specific reminder again, select a value in . Click on . The notification area will be closed.
-
To mark overdue tasks as done, click on the respective button.
-
-
Delete reminders:
-
To delete a reminder, hover over the reminder. Click the icon next to the reminder.
-
If there is more than one reminder: To delete all reminders, click on at the bottom.
-
Enabling desktop notifications:
-
Click the icon on the right side of the menu bar. Click on .
-
Click on in the sidebar.
-
Enable in the notification area.
Depending on the browser settings, the button is displayed. Click the button. You are asked by the browser whether the receipt of notifications should be allowed. Grant this permission.
Note: Depending on the browser, you might have to allow the receipt of notifications in the browser settings for the setting above to take effect. Information can be found in the browser help pages.
Manually Installing Local Apps
You can manually install local Drive apps for MS Windows, macOS, iOS or Android. The local Drive apps synchronize your Drive app data with your computer or mobile device and can be connected multiple ways, either through webDAV or by downloading applications like OX drive which can funnel the data directly to your device.
Note: Depending on the configuration, those functions might not be available. In this case you can use a wizard to set up the apps.
How to install local Drive apps for computers or mobile devices:
-
Click the icon on the right side of the menu bar. Click on .
-
In the sidebar, click on .
Click the respective icon in the display area. Follow the instructions on installing the apps.
Using a Wizard to Set Up Local Apps
You can also access your emails or groupware data by using suitable apps and clients on mobile devices or computers. You can use a wizard in the groupware to install and configure those apps and clients. The wizard includes the following functions:
-
Installing and configuring apps and clients on devices such as PCs, tablets and smartphones. The supported devices are: Windows, Apple and Android.
-
Installing an email client on Windows systems. The client makes your emails, appointments, tasks and contacts locally available.
-
Installing the local Drive app for desktop and mobile devices. This app is downloaded and installed from respective the app store for the device. The local Drive apps synchronize your Drive app data with your computer or mobile device.
-
Depending on the device, the configuration might also be possible by email or SMS. Advanced users can display the configuration data for a manual configuration.
Note: Depending on the configuration, the wizard might not be available. In this case you can manually install clients and apps.
How to use the wizard:
-
Click the icon on the right side of the menu bar. Click on . The wizard will be launched.
-
Select your system and the required devices. Follow the instructions.
Setting up and Configuring the Zoom Integration
This feature is currently not public
The following options exist:
-
Set up the Zoom integration
Prior to being able to have Zoom meetings with other contacts, you have to set up the Zoom integration. To do so, you have to grant the groupware access to a Zoom account.
-
Configure the Zoom integration
You can configure the Zoom integration according to your needs.
How to set up the Zoom integration:
-
If you call a contact via Zoom in the Email, Address Book or Calendar app before having set up the Zoom integration, a window for registering a Zoom account opens. In this case, proceed with step 4.
-
Click the icon on the right side of the menu bar. Click on .
In the sidebar, click on .
-
Click on in the display area. if this button will not be displayed, the Zoom integration has been done already.
A window for registering a Zoom account opens.
-
-
Below , use the login method that you learned from your administrator or hoster.
-
To create an own Zoom account, click on . Follow the instructions.
Use one of the following methods:
-
The data of the linked zoom account will be displayed.In order to cancel the link, click the icon next to the account.
How to configure the Zoom integration:
-
Click the icon on the right side of the menu bar. Click on .
-
In the sidebar, click on .
The following settings are available:
Appointments
With those options, you can define the behavior if you select in the drop-down when creating appointments.
-
Always add a random meeting password. Defines whether the conference will be secured by an automatically created password.
-
automatically copy link to location. Defines whether the link for the Zoom meeting participation will be copied to the field.
-
Copy dial-in information to description. Defines whether the link for the Zoom meeting participation will be copied to the field.
Incoming calls
With those options, you can define the behavior for incoming Zoom calls if the groupware is in the background.
-
Show desktop notifications. Defines whether you will receive a desktop notification for an incoming Zoom call.
-
Play ringtone on incoming call. Defines whether a notification sound will be played for incoming Zoom calls.
Dial-in numbers
If you at least have a Zoom Pro account, Zoom offers dial-in numbers per country. To define the countries to be displayed in in appointment invitations, click on .
Setting the Presence Status
You can set your current presence status to indicate your availability for a call to other users.
How to set the current presence status:
-
Click the icon on the right side of the menu bar.
-
Select a presence status below . You have the following options:
-
. You are signed in and can be contacted.
-
. You are currently absent and can not be contacted.
-
. You do not want to be disturbed, e.g. if you are in a meeting.
-
. You are not signed in.
-
as an email's sender or recipient
-
in the address book list, in the address book detail view
-
as appointment participant, as task participant
-